Survive the Nights is and always will be a multiplayer game. It's what we set out to make and it's what we're still making. We always saw this game as a co-op friend fueled experience, the more the merrier. That being said, a lot of players don't seem very interested in playing with others. One feature (if not the most requested one) is single player and while time and design doesn't really allow for a true single player, we've done our best to replicate this experience.
To get right down to it Survive the Nights requires a server and currently there's no way around that. This doesn't mean we can't replicate a single player experience though. In the 1.7 build you will find a "Solo" tab. Opening this will display all solo options and allow you to start what is essentially a solo server using your local host. You will be able to adjust basic settings and play by yourself without the worry of other players possibly ruining your good time. The solo process works by creating a locally hosted server doing so should require no extra input from the player. This should work for the majority of people. All you need to do is simply click the solo tab, select your setting and click the play button. The game will take care of the rest.
This process will not be cheap. You will need a decent amount of ram to run a solo server smoothly. We will be working on optimizations across the board in the coming updates.
Solo Tab
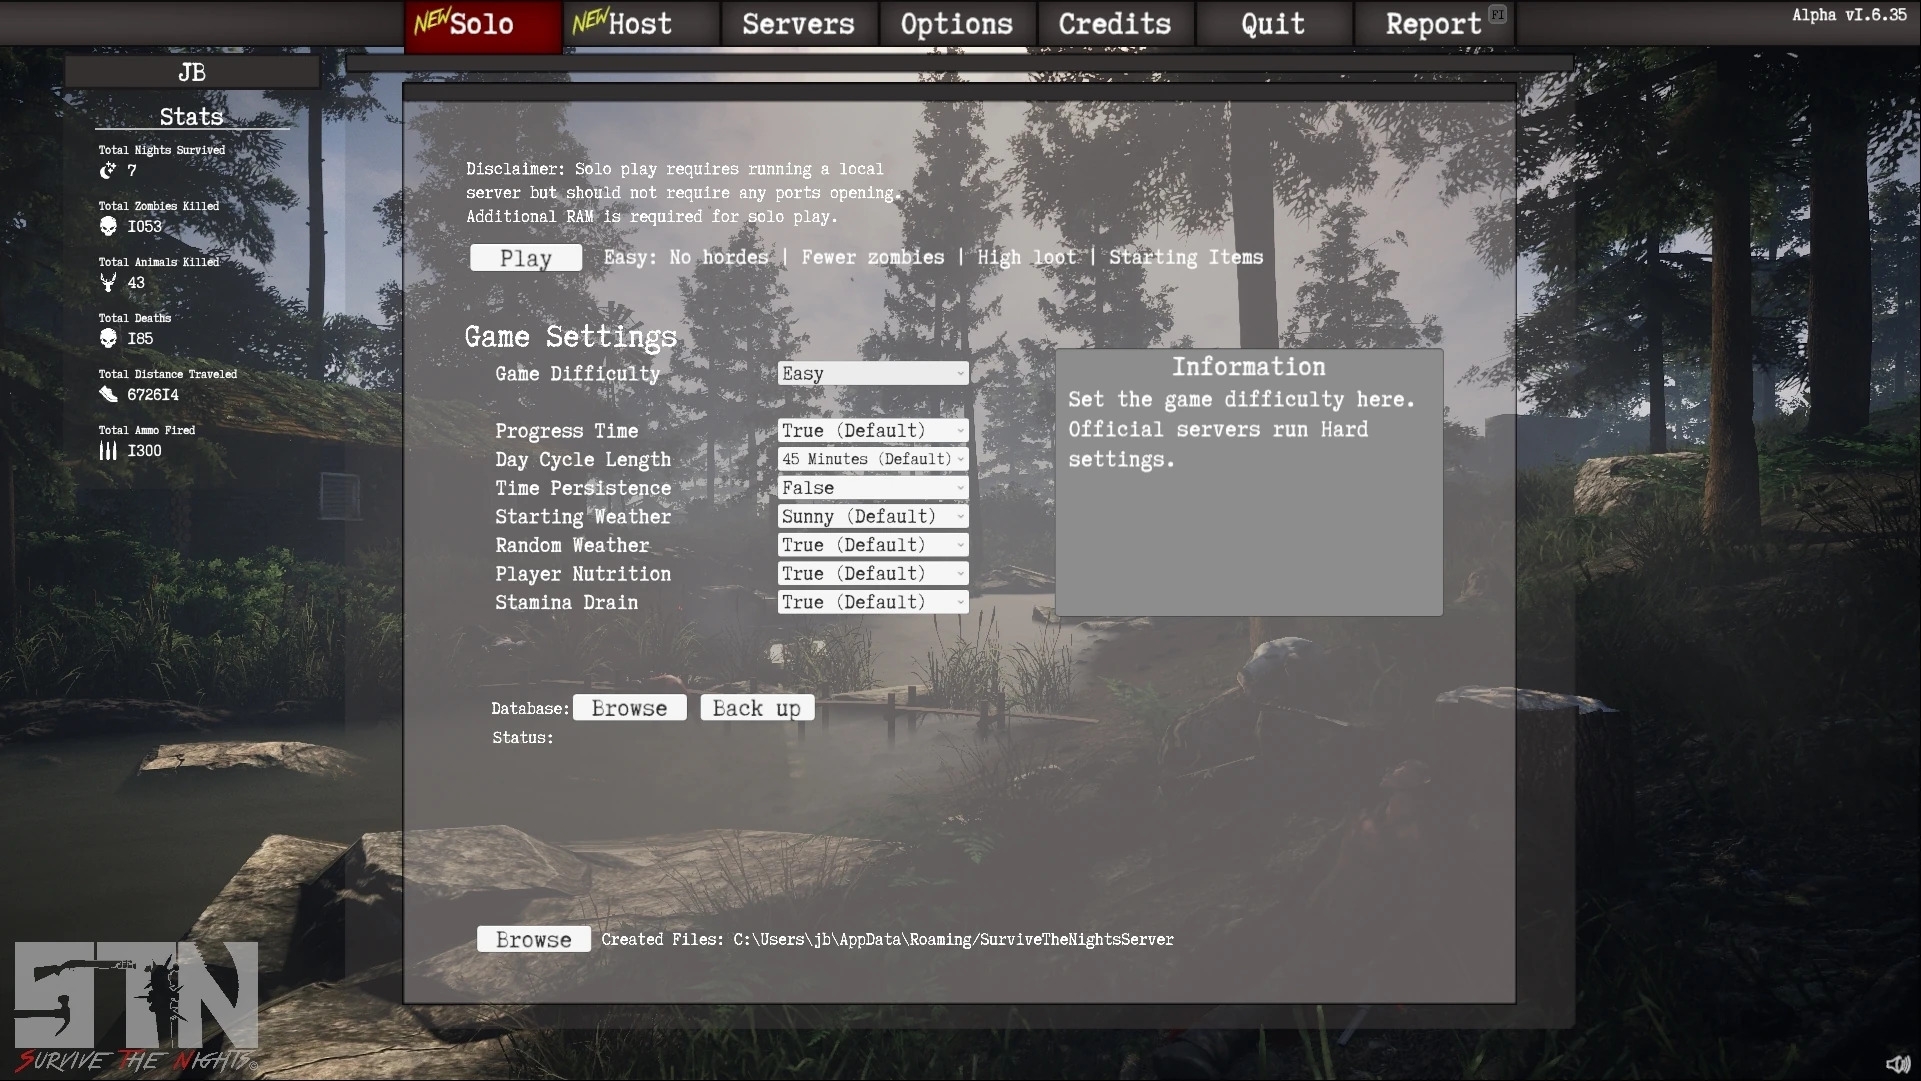
Solo Tab Settings
- Disclaimer: Solo play requires running a local server but should not require any ports opening. Additional RAM is required for solo play.
- Game Difficulty - Easy, Medium, Hard (Default), Hardcore.
- Easy - No hordes | Fewer zombies | High loot | Starting items
- Medium - Easier hordes | Fewer zombies | Starting items
- Hard - Matches Official Servers (Default)
- Hardcore - Harder Hordes | More zombies | Start with nothing (This is the one you want)
- Time Persistence - When true time progresses based on the 'Day Cycle Length' option. False results in time staying the same as launch time or the '/time' the server admin sets the server to.
- Day Cycle Length - The in game time cycle length based on minutes 15m, 30m, 45m (Default), 1h, 1h 30m, 2h, 3h, 4h, 5h and lastly 24h (for the maniacs).
- Starting Weather - The weather when the server is started. Sunny (Default), Light Rain, Heavy Rain, Storm, Light Snow, Heavy Snow, Snow Storm.
- Random Weather - Should server have random weather events. If false then server remains in starting weather state.
- Player Nutrition - Do players need to consume food and drinks?
- Stamina Drain - Should the player have stamina drain and how fast should it drain?.
You will notice a Database tab as well. This tab will allow you to backup your solo match. You can use it to save and restore old server states or delete your current state.
Browse - This will open the directory location of your database save file and backups that you have taken. Backup - Quickly backs up the server database.
The browse button will allow you to access the current server database .stn-server this is the file that controls your current servers state. It stores all the relevant information when it comes to the server 'world'. As an example, if the player were to spawn into a solo match, place a plank on a window then quit and delete .stn-server, the plank would no longer be there on the next join. Everything has a save state and it's all controlled by .stn-server.
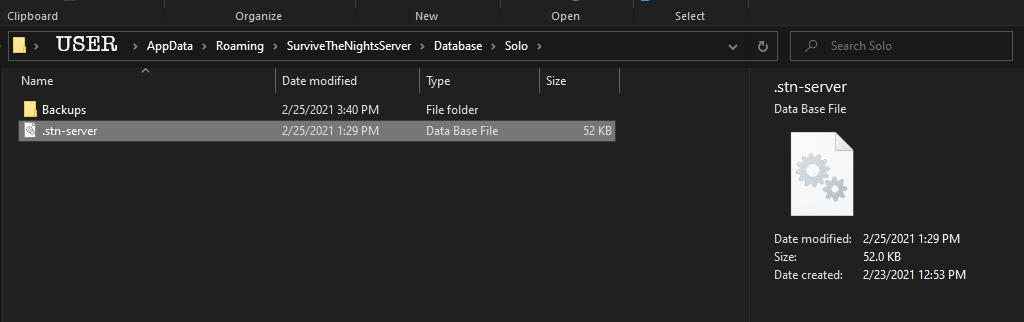
The window that opens upon clicking the "Browse" button
Backups
After the browse button opens Solo directory, it will allow you to access the "Backups" folder. This folder will contain all of the backups generated by pressing the "Backup" button in game. These backups will be all be sorted and dated allowing you to easily store and restore older server saves.
Server backups will be dated for convenience
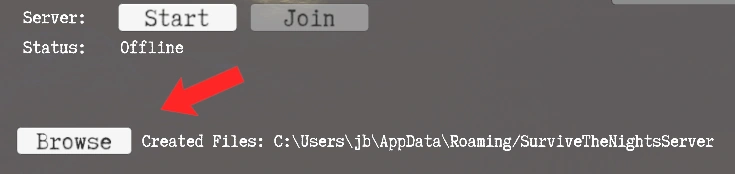
Browse
Below the database buttons you'll find a little out of the way button titled 'Browse'. This will allow you direct access to many of the servers configuration files. For the most part and for most players the above options will be enough. The team strongly suggest you do not alter any of the configuration options at first. Use the basic settings above and have a few good play throughs. These config files will allow you to adjust all of the server options (same as a hosted server) including settings like teleport pre-sets and user permissions. Most of these files are .json based and simple to understand. As always, feel free to reach out on Discord if you have any questions.